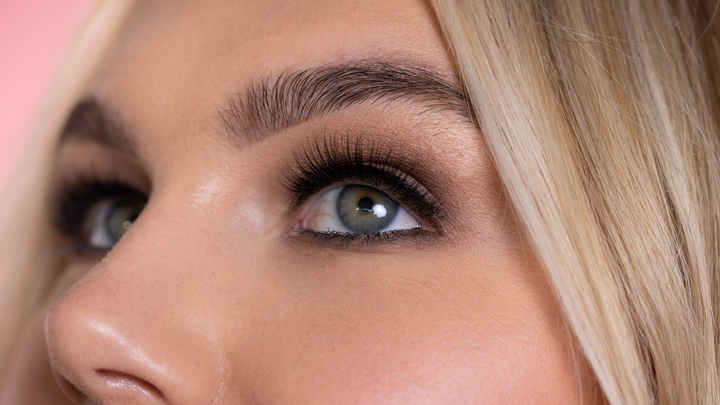

Every girl can appreciate a cute pair of false lashes, even if she's never worn them. After all, a good set of falsies can instantly transform an entire look, offering a zero-effort glam that’s sure to turn heads. Not only that, but they're an amazing alternative to lash extensions, a practice that is expensive and incredibly time-consuming to maintain.
Sadly, strip lashes don't last forever and, once it's time for them to come off, it's best to know how to do so safely without risking damage to your natural lashes. In this blog, we'll walk you through how to remove your fake lashes the right way with the least amount of oopsies. Let's get started!

Step 1. Gather Up All Your Supplies
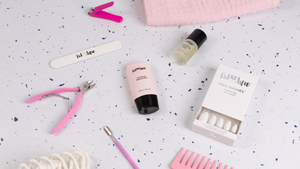
First things first: before pulling, peeling, or dabbing your lashes with any kind of solution, you'll want to make sure you have everything you need ready to go. This includes your preferred oil-based makeup remover, a clean washcloth, some cotton swabs or pads, and whatever other supplies you normally use in your morning or evening beauty routine.
Likewise, make sure that wherever you choose to start the lash removal process is well-lit and comfortable. Fake lashes are delicate, and even the best fake lashes should be handled with care to ensure they last as long as you need them to. Especially if you plan to reuse them!

Step 2. Wash and Cleanse Your Face
Once you've gathered everything you need for your venture into DIY faux lashes removal, take the time to thoroughly wash and cleanse your face and eyelids of any makeup or debris. Your go-to facial cleanser should work just fine, and it'll likely remove most of the oil, sweat, dirt, and dead skin cells on the first use.
Not only will this give your skin the refresher it needs, but it'll give your complexion the chance to breathe as well, offering a more youthful-looking glow that any girl can get behind.
Step 3. Apply Some Oil-free Makeup Remover to Your Lash Line
Now that your face is all prepped and ready to go, dip a cotton swab or cotton ball in oil-free makeup remover. When applied to your lash line, the makeup remover will help further break down the adhesive glue holding the false lashes to your natural lash.
Be sure to keep your eyes closed for safety, then gently swab the makeup remover over your eyelashes, focusing primarily on the areas where you applied the faux lash adhesive. Let the oil sit for a few minutes to give it time to work its magic.
Step 4. Gently Peel off the Strip Lashes

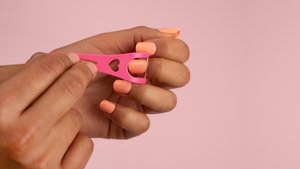
With your face washed and the makeup remover doing its job, now's the time to start taking off those lashes. Remember, you want to be delicate. Handle your falsies like you're handling a flower. Start by carefully peeling the lashes from the outer corner, then gently pull towards the inner part of your eye. This shouldn't be too difficult, so be sure not to yank or pull too quickly. You don't want to damage your falsies or your actual lashes by mistake. Repeat the process for the other eye.
Once that's finished, go ahead and carefully store your lashes in their original case. Alternatively, get your hands on a quality travel lash book so you can store more than one pair of your favorite lashes, whether that's natural lashes, lash minis and half lashes, faux silk lashes, or faux mink lashes. Voila! You're all done! See, not too bad, right?
Step 5. Go in for the Double Cleanse
It's no secret that daily face washing is non-negotiable when it comes to keeping your skin looking its best. However, you might not be in the habit of double cleansing with a different wash the second time around, something that can have lasting benefits in the long run. If you're new to the idea, consider this second round a chance to remove all of the remaining oil, lash adhesive, or dirt from your face and eyelids that might still be left behind.
This is especially beneficial if you're prone to wearing makeup daily or tend to have more oily or acne-prone skin. If you live in the city, you're also more likely to be exposed to air pollution, making a daily cleanse that much better for you over time. Whatever your circumstances, going in for the double cleanse can only help when it comes to removing the remaining adhesive from your falsies. Just be sure to research the right facial cleanser for your skin type, whether you're prone to dry skin, have sensitive or acne-prone skin, or your skin is classified as combination.
Extra Tips for Removing False Lashes at Home
Removing strip lashes doesn't need to be too difficult. Even if you're a newbie to the process, you should easily get the hang of it once you start wearing them more often. That being said, there are some extra tips you can use if you decide you want to change up the process a little.
Give Your Lashes a Good Steam
A good steam or shower can do wonders for your health. Coincidentally, it can also help loosen up false lashes glue when needed. If a full shower doesn't fit your schedule, steaming your face can be just as effective for loosening up lash glue. Simply boil some water, pour it into a bowl, then drape a towel over your head to create a steam tent. Position your face over the bowl, but far enough away to avoid burns. No fancy equipment needed!
As you steam, bear in mind that the falsies may not fall off at once. This goes especially if you applied quality falsies from the get-go, as the lash adhesive used in higher-end products tends to take more steam to loosen. No matter what, patience is key for the health of your lashes. A good 10-15 minute steam should do the trick to get things rolling.
Consider Coconut Oil
Funny enough, one of your most common kitchen items can be a big help when it's time to remove fake lashes. While it might not be the cleanest option, it can help break down the adhesive used to apply those falsies. It's also a more natural option if you're wary about dealing with too many chemicals.
Start by heating up some coconut oil for just a few seconds. Once you find a temperature you're comfortable with, use a cotton pad to soak up some of the oil. Apply the pad to your eye for roughly 10 minutes while you lie on your back. Afterward, rub the pad over your lashes and check if they come off easily. Don't stress if they don't! You still have the tried-and-true falsie removal methods highlighted above to fall back on.
Break out the Baby Oil
Another safe alternative for removing eyelash adhesive is to break out the baby oil. Yes, baby oil! Not only is this a proven DIY method at home, but it will also help to preserve the health of your natural lashes in the process.
To begin, choose a gentle, nourishing, and fragrance-free baby oil without any added chemicals. Apply a small amount of the baby oil to a cotton swab or pad, then gently rub the oil along your lash line. With luck, you should start to see results after a few minutes.
Talk to the Lash Experts at Red Aspen

Whether you're a seasoned falsie fanatic or a total newbie, learning how to remove fake lashes the right way is extremely valuable. After all, you want to get the most out of your investment! That being said, if you have any questions on the best falsies for your unique features, reach out to the lash experts at Red Aspen!
With tons of cute lash choices to choose from, you're sure to find a look that suits your style and personality. Talk to your Red Aspen Brand Ambassador today to learn how you can add a ravishing set of faux lashes to your beauty regimen!
Written by: Kerry Cron
Done reading? Return to home.