Ready to look like you just got back from a vacation somewhere sunny and warm? Self-tanning products by Red Aspen can help you get that look without the need for expensive plane tickets or the risk of sun damage!
Let’s face it, when it comes to self-tanning, the hardest part about applying self-tanner is making sure you get all those hard-to-reach spots on your back. If you don’t currently have someone around to do it for you, there's no need to worry! Our guide will explain exactly how to apply self-tanner to your back without pulling a muscle! Let’s get started!
How to Self-tan Your Back the Right Way
Tanning your back might feel like a no-win situation, especially when you don’t have anyone to assist you, but it’s actually pretty easy if you follow the proper steps and have the right tools (more on that later). Here’s how you can get your most complete self-tan even on those tough to reach spots on your back!
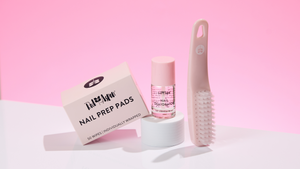
Step 1. Exfoliate and Dry Your Skin

Before you start applying self-tanner, make sure that the skin on your back is completely exfoliated. After all, you want to ensure that the final result will be even and natural-looking, without any of the telltale streaks that are a dead giveaway for botched self-tanning. We recommend using a back scrubber with a handle to help you reach every last inch of skin.
If you opt to use a body scrub rather than a physical exfoliator like a mitt or brush, we recommend doing so at least 24 hours before you apply self-tanner, as well as showering an additional time before doing so. This will ensure that any oils in the scrub aren’t left on your skin. Otherwise, they might affect the way your self-tanning product works and foil your plans of a perfect tan.
Step 2. Moisturize Dry Skin

Moisturizing is another essential step for a beautiful fake tan. Self-tanning products typically absorb into dry skin more than hydrated skin, which can lead to uneven results and darker patches in the spots where your back is dry. To avoid this, apply your favorite body lotion and let it sink in before you begin your application process.
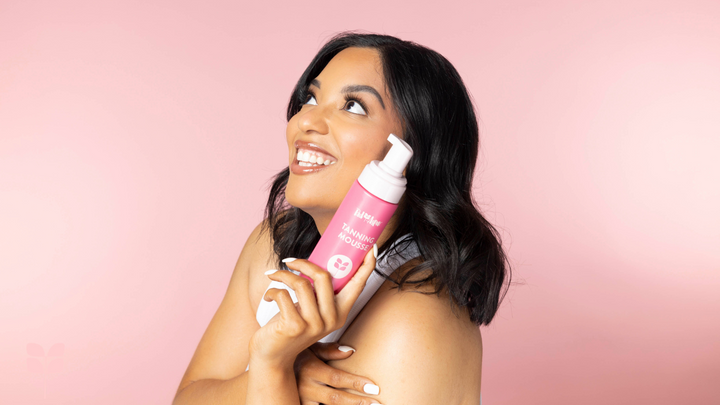
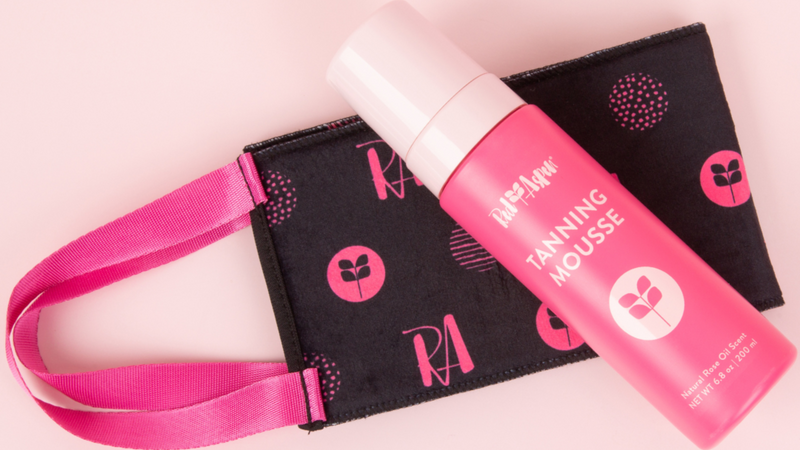
Step 3. Shake Up Your Tanning Mousse
If you’re using Red Aspen Tanning Mousse, shake the bottle thoroughly to ensure the contents are completely mixed before you start applying it to your back. This is another important way to minimize the likelihood of streaks or uneven application.
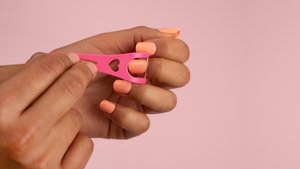
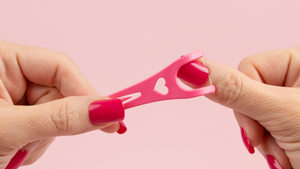
Step 4. Break Out Red Aspen’s Tanning Back Applicator

Use a self-tan back applicator like the Red Aspen Tanning Back Applicator to make applying your tanning mousse a total breeze! Apply the Tanning Mousse in the very middle of the back tan applicator for the best results.
Step 5. Apply Red Aspen Tanning Mousse

After you’ve applied the Tanning Mousse to the back applicator, place the applicator behind your back. Then, move the applicator side to side, using a see-saw motion to ensure you cover every inch of your back. Repeat the process as needed to avoid missing any spots.
Step 6. Let Red Aspen Tanning Mousse Properly Soak Into Your Skin
The longer you leave the Tanning Mousse on your skin, the more intense the final result will be. The full eight hours will result in a deeper, darker tan, while four hours will give a much lighter but still noticeable tan.
If you need to sleep while the Tanning Mousse is working its magic, you’re in luck! The quick-drying formula means you won’t feel sticky or uncomfortable while you’re sleeping. When you’re all done, shower to remove the excess Tanning Mousse and enjoy your new beautiful sunkissed glow!
Step 7. Maintain Your Self-Tan Red Aspen Tanning Back Applicator Results
Moisturizing is another important part of making your sunless tan look as good as possible for as long as possible, so be sure to moisturize after every shower. Ideally, you should apply your body lotion while your skin is still damp to lock in the moisture.
Red Aspen Tanning Drops are another useful tool for maintaining your tan. Simply mix a few drops into your moisturizer, serum, or foundation. The general rule of thumb is 2-4 for a light tan, 4-8 for a natural tan, or 8-12 for an intense tan. From there, apply this mixture wherever you’d like to add a little extra color. For the best results, we recommend using it every two to three days to maintain your sunless tan.
When you’re ready to reapply more self-tanner, don’t forget to exfoliate the old tan from your skin. This will ensure you don’t end up with uneven layers of tan with the next application.
Enjoy Your Most Complete Self-tan with Red Aspen Self-tanning Products
The perfect streak-free tan isn’t a myth! With Red Aspen’s Tanning Back Applicator you’ll enjoy a perfectly even final result without messy or unsightly tan lines. The easy-grip handles are comfortable and the applicator itself is made of a velvety soft, smooth material that’ll feel great on your skin. It’s also washable (just rinse in warm water and air dry) and reusable, so it can last you through quite a few tanning sessions, making it the most cost effective choice as well!

Ready for your most complete self-tan yet? Reach out to a Red Aspen Brand Ambassador today to learn how you can add the Red Aspen Back Applicator and Red Aspen self-tanning products to your yearly skincare routine!
Written by: Red Aspen
Done reading? Return to home.